Nail files are one of the most important tools that nail technicians use and need, but do you actually know enough about them?
Let’s make it clear by answering the most common questions nail techs ask.
I’m sure you’ve seen numbers on pretty every file on the market. They both can be the same or two
different. If both numbers are the same – means both sides have the same grit; two different numbers – two different sides.
OK, but what those numbers mean?
Let’s take 180/180 as an example – it means both sides are the same and that there are 180 grits on 1 square cm. Knowing that we can now clearly understand which file is sharper and which one softer. Simply said – the higher the number – the softer file; the lower the number – the sharper file.
The sharpest file you can find on the market is 80/80 grit (1 cm2 contains 80, pretty large grits).
80 grit file is used for product removal. It allows you to file off lots of product really quickly. However, bear in mind that you’re never ever allowed to over file the nail, so don’t use 80 grit when the product is very thin. Also, remember that gel is easier to file than acrylic so reduce the pressure adequately.
100 grit – used to take the length down, to shape side walls, lower arch and free edge. I don’t recommend
to use it to file the nail surface as it creates a lot and deep scratches which means – more buffing for you later on.
150 grit – use to file the nail surface and to shape the whole nail. You can also use it to blend tips to
the natural nail; to remove any lifting prior to new product application.
180 grit – use to contour the whole nail; to prep natural nail before applying any product and also during manicure to shorten or shape natural free edge.
240 grit – use to prep nails especially before UV gel polish application due to its low corrosive surface.
Buffers – these have numbers too, just like our files, however, are made with a sponge which makes them more delicate and softer than a hard file. Use buffers to bring the shine to acrylic or natural nails.
To make acrylic nails shiny start with the lowest number of your buffer and work towards the highest one.
100/180 grit buffer should be used first. 180 grit side may also be used to prep natural nail before UV gel polish application. This particular buffer eliminates scratches after a hard file created during filing and shaping.
220/280 – this is your second step. You can also use this buffer during manicure treatment to eliminate ridges from natural nails and make the whole surface even and smooth prior to nail polish application. It eliminates scratches on acrylic nails after using 180.
600/4000 – this is a magic wand which brings the whole shine up. Most of the brands have one side in green and second in white. Many people concentrate on the white side ignoring the green, while it’s the green one which creates the shine and white one only reveals it. So, to have a beautiful,
mirror glass shine make sure you do a really good job with the green side.
The extremely important fact you must always remember is to prepare your nail files before the first use. Sides/ edges of a new file are sharp like a knife and could easily cut clients cuticle or side walls. ALWAYS get rid of those sharp edges using two files and filing edge to edge to bold them slightly.
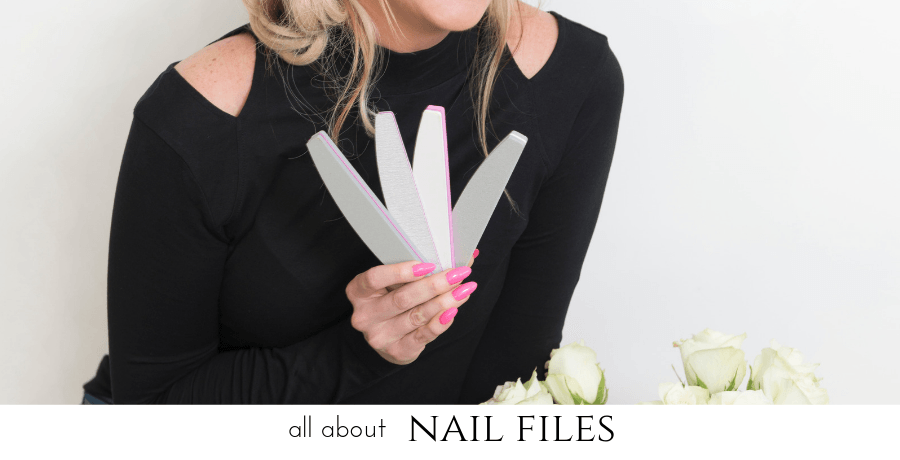
Do nail files’ shape matter?
Not really. You can find different shapes: straight (wild and slim), half
moon, diamond, banana etc. It’s really up to you which one you want to use. I personally like half-moon shape when working around the cuticle area, as it’s lower risk to cut or irritate them. The straight file is the best for filing free edge, side walls and lower arch; it makes it easier to get a nice and straight shape.
Is it worth to pay a bit more for a file?
Yes, it is. You should remember that files can be disinfected and used more than once. Having said that I would recommend to get yourself a good
quality and branded files which cost a bit more but last much longer than cheap files you can find online. They’re also stronger and don’t bend during filing which makes your job much easier and more pleasant for you and your client. Cheap files are very likely to separate from the board during or after being disinfected.
Like I said you can disinfect the file and buffer so you can use it again – on the same client (for every new client use a brand-new file). That will save you some money, as you don’t have to throw away good files (unless they had contact with blood or any type of bacteria).
How to disinfect nail files?
Simply brush the dust off using your ordinary manicure brush, wash it with a hint of soap and then spray or soak with disinfectant liquid. I’d recommend Mundo products as they have a really wide range of products to do so and work really well.
Remember that nail files, no matter how good and strong, are not going to last forever and after a while, you’ll have to change it. The moment to do so is when you notice that filing takes you longer than usual and instead of filing you’re more likely to buff a nail.
Ta dah. I hope you have a better understanding now and it’s not confusing anymore.
This article comes from my book “The Nail Shapes & Structure Compendium”. Feel free to check it out 🙂